
Dropdown Multi-Select in EasyFlow allows you to adjust how dropdown selectors are displayed, giving you full control over their visual style and behavior. You can customize how dropdowns appear on product pages, improving the shopping experience, reducing confusion and helping drive more confident purchase decisions.
Follow this guide to learn how EasyFlow’s Dropdown Multi-Select Option works, how to set it up and customize.
How to Add the Dropdown Multi-Select Option to a Product? #
To add a file upload field to your Shopify product page, start by opening an existing Option Set from the EasyFlow dashboard.
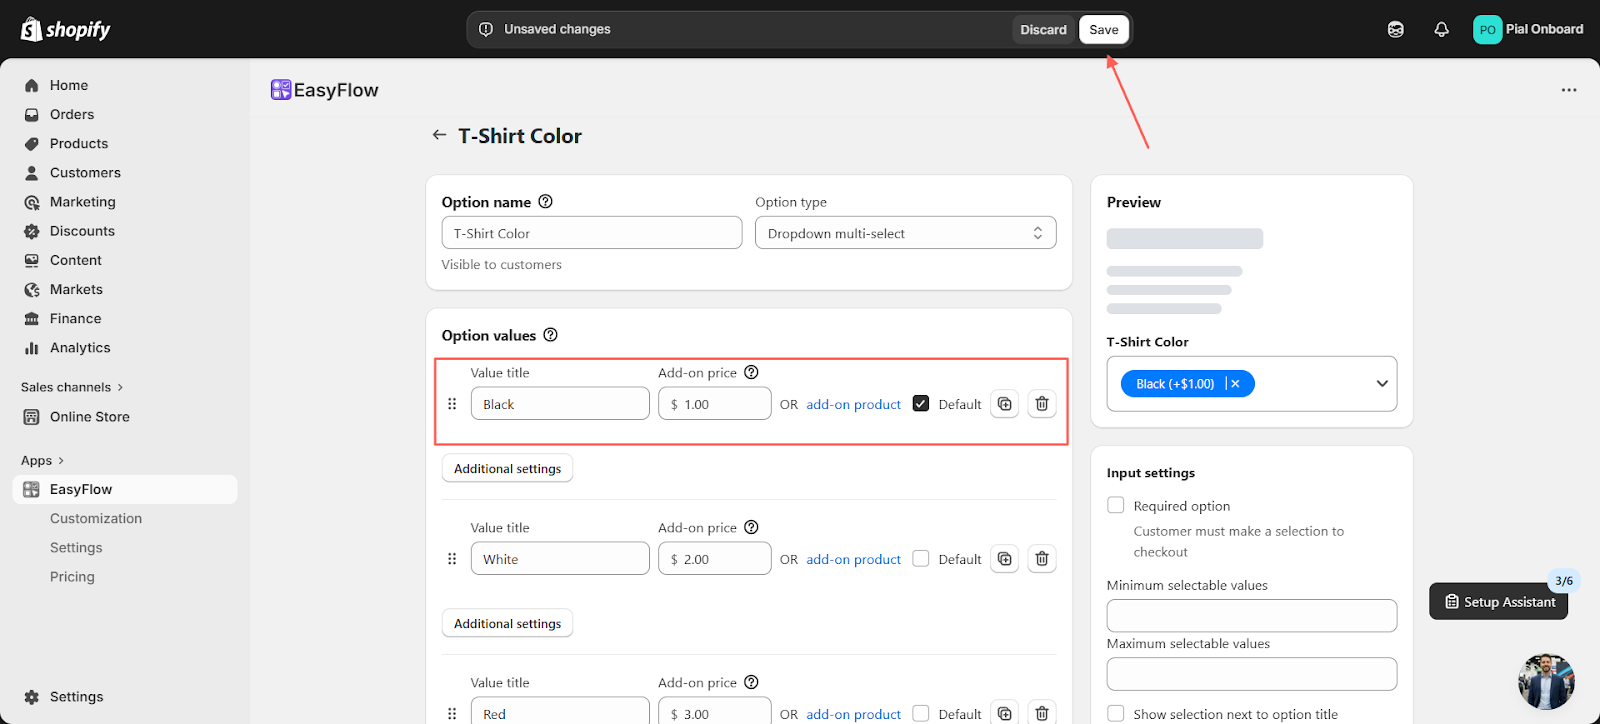
Now, create a new option or add an existing one. Now, from the option types, select Dropdown multi-select as your input type.
Next, add a ‘Value title’ under Option values, enter the ‘add-on price’ and tick Default for a specific option. You can also add a description for the option value. Make sure to click ‘Save’ before closing the option.
You will see an update in progress as your newly created Dropdown Multi-Select is applied. Do not close the window until it is complete. The process may take a few minutes.
Next, go to ‘Customization’. Scroll down to find ‘Dropdown Multi-select’ and click on ‘Customize’.

You can then customize the Font, Style, Dropdown and Selected Item. In each section, adjust the color, font size and other settings. Click ‘Save’ to apply your changes to the Dropdown Multi-Select.

Once you are done with the option configurations, save your changes. You can see the changes in the option set you added it to.
Final Outcome #
When customers visit the assigned product page (where the Dropdown Multi-Select option set is applied), they will see the multi-select dropdown. This option helps customers choose multiple items and adjusts how the dropdown is displayed.
This is how easily you can add the Dropdown Multi-Select option in EasyFlow. If you are feeling stuck, you can reach out to our customer support.


